When it comes to drywall installation, choosing the right screw size is crucial for a secure and professional finish. Many DIY enthusiasts and even some professionals find themselves puzzled by the variety of drywall screw sizes available and which ones to use for their specific projects.
This article aims to demystify the process of selecting the appropriate drywall screw length and size. We’ll explore the factors that influence screw selection, including drywall thickness, stud material, and application area. Whether you’re hanging new drywall, making repairs, or tackling a renovation project, understanding the nuances of drywall screw sizing will help ensure your walls and ceilings are properly secured and ready for a flawless finish.
What are Drywall Screws?
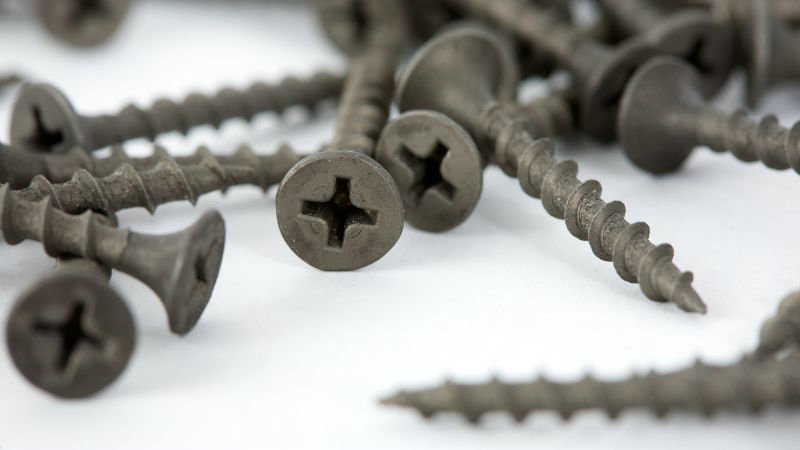
Drywall screws are specialized fasteners designed to securely attach drywall panels to wall studs or ceiling joists. These screws feature deeper threads than regular screws, ensuring they don’t easily dislodge from the wall.
What are the Types of Drywall Screws?

Drywall screws come in different sizes and types for various applications. Knowing the right kind to use can make your installation more effective and secure.
W-type and S-type
Drywall screws come in various types to suit different applications and materials. The two main categories are S-type and W-type screws.
S-type also called fine threaded screws, and W-type coarse thread screws.
S-type screws are designed for attaching drywall to metal studs, featuring fine threads and sharp points for easy penetration.
W-type screws, on the other hand, are longer and thinner, ideal for installing drywall to wood studs.
W-type are typically inserted into wood studs to a depth of about 5/8 inch (0.63 inches). In contrast, fine-threaded S-type are usually driven into metal studs to a depth of approximately 3/8 inch (0.38 inches).
When working with multiple layers of drywall, it’s important to use screws long enough to penetrate at least 1/2 inch (0.5 inches) into the underlying layer or stud. This ensures proper anchoring and stability for the drywall installation.
Using the right thread type is crucial. W-type with a bugle head are perfect for most household projects on wood.
What Affects the Drywall Screw Size?

Normally, there are two facts that affect the drywall screw size: the drywall thickness and the application area.
Drywall Thickness
The thickness of the drywall panel is a key factor in determining screw length.
Generally, 1/2-inch drywall is the most versatile and commonly used thickness for residential walls, while 5/8-inch is preferred for ceilings and areas requiring enhanced fire resistance or sound insulation.
Thinner options (1/4-inch and 3/8-inch) are typically used for specific applications like repairs, curved surfaces, or layering over existing walls.
Application Area
Field and edge are two terms usually mentioned in the application area.
Field refers to the central area of the drywall sheet, and edge refers to the perimeter of the sheet.
- For wall Applications:
- Field spacing: 16 inches apart
- Edge spacing: 8 inches apart
2. For Ceiling Applications:
- Field spacing: 12 inches apart
- Edge spacing: 7-8 inches apart
The screw size doesn’t necessarily change between field and edge, but the spacing does. Cause edges require closer spacing to create a continuous seam for taping and mudding and to reduce lippage between panels.
Here is a chart for you to take a reference:
| Drywall Thickness | Stud Material | Recommended Screw Length | Recommended Gauge |
|---|---|---|---|
| 1/4″ | Metal | 1-1/4″ | #6 or #8 |
| 1/2″ | Metal | 1″ or 1-1/4″ | #6 or #8 |
| 5/8″ | Metal | 1-1/4″ or 1-5/8″ to 2 inches | #6 |
How to Drive Screws into Drywall?
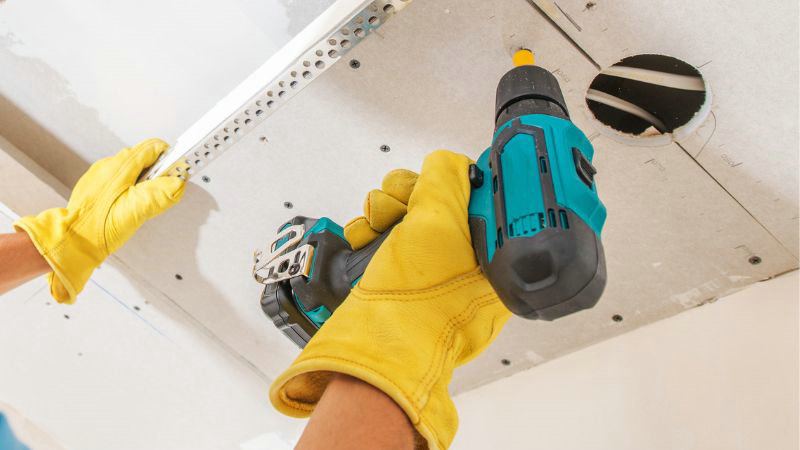
For the installation process, use a power drill or drywall screw gun equipped with a magnetic bit holder and a drywall screw bit. If your tool has a depth setting, adjust it accordingly. Hold the screw perpendicular to the drywall surface and align it with your marked spot over a stud.
Holding power is important. Begin driving the screw at a slow speed to help it bite into the drywall and stud without slipping. Once the screw has started, increase the drill speed to drive it in fully. The screw head should be driven just below the surface of the drywall paper, creating a slight dimple without breaking through the paper or damaging the gypsum core.
Be careful not to over-tighten, as this can compromise the drywall’s integrity. Continue this process, maintaining consistent pressure and speed while driving screws at the marked intervals.
Frequently Asked Questions
What’s the difference between #6 and #8 screws when it comes to drywall installation?
#6 screws have a smaller diameter (0.1380 inches) compared to #8 screws (0.1640 inches). #6 screws are usually sufficient for most drywall installations, but for thicker materials, #8 screws offer extra strength and hold.
How many screws are typically needed per sheet of drywall?
Typically, you need around 32 screws for a 4×8 foot sheet of drywall if installed on walls. Sheets on the ceiling require more, about 36 screws. This helps ensure the drywall is firmly attached and reduces the chance of sagging or gaps.
What’s a good rule of thumb to determine the appropriate drywall screw spacing?
A good rule of thumb for screw spacing is to place screws 16 inches apart on the studs for walls. For ceilings, spacing screws 12 inches apart provides extra support and prevents sagging. This spacing helps distribute the weight of the drywall evenly.
When screwing into studs, how deep should the drywall screws penetrate?
When screwing into studs, the drywall screws should penetrate at least 5/8 inches into the wood. This ensures a stronghold. Make sure the screw heads are slightly recessed into the drywall without breaking the paper surface.
