
Whether an operation involves installing objects or supporting suspended systems, fasteners are always an essential component. For certain solid materials, drop-in anchors play a key role in securing fixtures. If you are searching for advice on proper usage and selection of these anchors, this article will help you understand their types and uses better for your projects.
Understanding Drop-In Anchors
Definition and Core Function
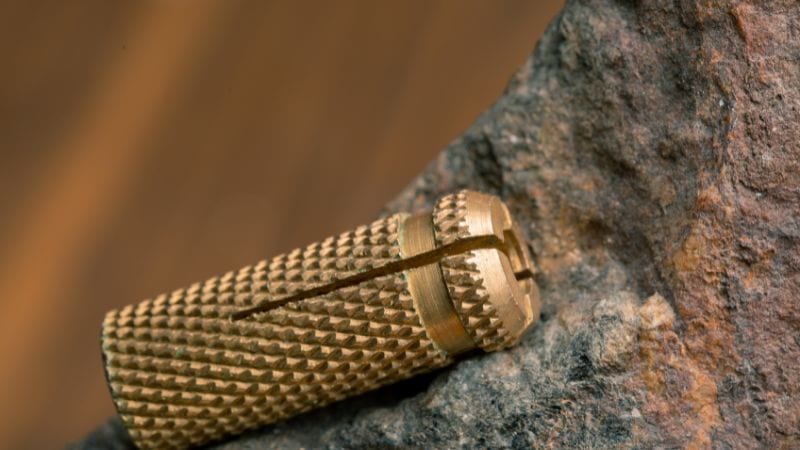
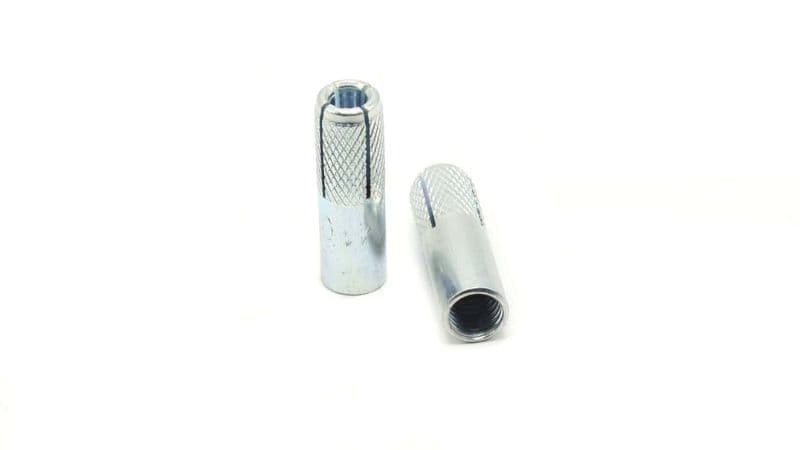
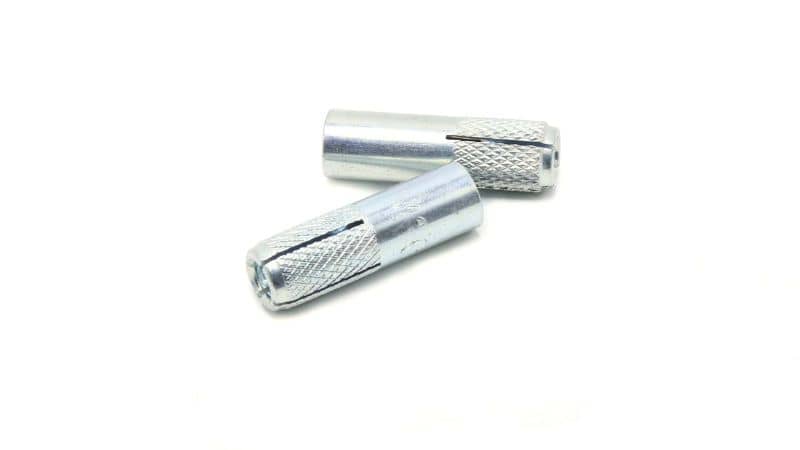
A drop-in anchor is a female-threaded fastener designed for solid concrete. It provides an internal thread that sits flush with the surface, allowing bolts, threaded rods, or other hardware to attach firmly. When correctly installed, it forms a permanent anchor that can be reused to secure or remove fixtures as needed. Drop-in anchors work best in applications needing flush mounting, such as overhead supports for pipes, cable trays, or HVAC systems.
Comparison With Other Concrete Anchors
Drop-in anchors differ from other concrete fasteners, with each type securing loads differently and fitting specific site conditions.
| Anchor Type | Key Difference | Best For |
|---|---|---|
| Drop-In Anchor | Flush, reusable threaded insert | Overhead or interior attachments |
| Wedge Anchor | Expands by pulling a cone-shaped end | Heavy permanent structural loads |
| Sleeve Anchor | Expands outer sleeve by tightening nut | Medium-duty fastening |
| Epoxy Anchor | Uses chemical bond instead of expansion | High-strength or cracked concrete |
Types and Technical Specifications
Sizes and Materials
Drop-in anchors are available in several diameters, including 1/4″, 3/8″, 1/2″, 5/8″, and 3/4″. The diameter matches the paired threaded bolt or rod, but the hole size should be larger. Each size requires a specific drill bit and embedment depth for the best holding power and safety.
Common materials include zinc-plated carbon steel, 304 stainless steel (18-8), and 316 stainless steel. Zinc-plated versions are suitable for dry, indoor conditions, while stainless steel options resist corrosion in moisture or chemical environments.
When choosing materials, installers consider environmental exposure, concrete type, and design load. Stainless steel anchors cost more but extend the service life in severe conditions such as wastewater facilities or coastal areas.
| Anchor Diameter (in.) | Drill Bit (in.) | Minimum Embedment (in.) | Typical Material Options |
|---|---|---|---|
| 1/4 | 3/8 | 1.0 | Zinc plated, 304 SS, 316 SS |
| 3/8 | 1/2 | 1.56 | Zinc plated, 304 SS |
| 1/2 | 5/8 | 2.0 | Zinc plated, 316 SS |
What’s worth noting is that these parameters and models are not the only options, as there are capable manufacturers that can offer customized fastener services. For the specifications of customized parts, sending in a quote to discuss further is the best option.
Load Capacity and Holding Strength
Load capacity depends on several factors: anchor size, embedment depth, and concrete strength. In typical 2000 PSI concrete, a 3/8″ anchor can reach roughly 1500 lbs pull-out load, while a 3/4″ variant can exceed 6500 lbs.
The working load should include a safety margin. Engineers usually apply a safety factor of 4:1, meaning only 25% of the tested load is utilized as the allowable limit. Deeper embedment improves both tension and shear resistance by increasing contact with the surface holding ground.
Standards and Compliance
To ensure consistent quality and reliability, many manufacturers also adhere to stringent management system standards. This includes certification to IATF 16949 for automotive-quality controlled production processes or related quality management systems like ISO 9001, which guarantee consistency in manufacturing. Furthermore, independent verification and testing services from organizations like SGS are often employed to validate an anchor’s performance claims, providing third-party assurance that products meet the specified standards.
How Drop-In Anchors Work
Anchoring Mechanism Explained
A drop-in anchor relies on internal expansion to lock itself within concrete. It includes a threaded metal sleeve and an expander plug located at the bottom of the sleeve. When activated, the plug forces the slotted sides of the sleeve outward until they press tightly against the hole walls. This contact creates a combination of frictional resistance and mechanical interlock.
Engineers often select sizes and materials based on the load and environment. Stainless steel models resist corrosion, while zinc-plated steel suits dry indoor spaces.
Because the top of the drop in anchor is perfectly flat with the surface, it creates a smooth, unobstructed surface and does not interfere with other components or finishing work. Once set, they provide a reliable, non-removable connection that resists vibration and repeated loading. This design allows later removal or replacement of attached hardware without affecting the embedded anchor.
Role of Setting Tool
The setting tool ensures that the expander plug seats fully and the sleeve flares evenly. It matches the anchor’s thread size and has a defined shoulder that stops at the right depth when struck. Using the proper tool is critical because incomplete setting weakens the joint and causes uneven expansion.
To use it, workers insert the tool into the anchor’s threads and strike it with a hammer until resistance is felt. This confirms that the expander plug has reached its final position.
Expansion Process
Once struck, the internal plug drives deeper through the slotted sleeve, pushing the segments outward. The resulting radial expansion forms strong compressive pressure against the concrete. This pressure, distributed around the full circumference, provides the anchor’s load-bearing capacity.
Typical Applications and Best Practices

Overhead Fixtures and Utility Mounting
Drop-in anchors often hold equipment and fixtures suspended from concrete ceilings or beams. Electricians and mechanical installers use them to secure lighting systems, sprinkler pipes, ductwork, and conduit supports overhead. These anchors create a flush surface that prevents snagging while allowing threaded rods or bolts to attach utility hardware firmly. Using stainless steel versions helps resist corrosion in humid or outdoor areas.
Industrial and Structural Uses
Industrial and structural environments often demand strong, vibration-resistant connections. Drop-in anchors secure steel columns, machinery bases, guardrails, and heavy supports to concrete floors or structural members. When combined with threaded rods and bolted plates, they maintain a solid mechanical connection that resists tension and shear forces.
In fabrication areas or plants, installers choose anchors with high load ratings and may double-check torque values during installation. Proper spacing and edge distances prevent concrete cracking. Where dynamic loads occur, using anchors rated for cyclic or shock conditions maintains stability.
In marine or outdoor industrial setups, the material selection is critical. Stainless steel anchors can provide long-term resistance to moisture and salt exposure, ensuring structural reliability in harsh environments.
Residential and Commercial Projects
Builders and maintenance professionals use drop-in anchors in homes, offices, and retail spaces for secure, flush-mounted installations. Common applications include attaching handrails, shelves, cabinets, signage, and gym equipment to concrete walls or floors. Their small visible footprint keeps installations clean and professional.
Best practice involves choosing dimensions that match fixture weight and material thickness. For bathrooms, garages, or basements, zinc-plated anchors may suffice, while stainless versions perform better where dampness is common.
Installation Guide for Drop-In Anchors
Preparation
- Mark the correct location on the concrete, ensuring minimum requirements for edge distance and spacing from other anchors are met.
- Drill a hole that is straight, clean, and matches the specified diameter and depth for the anchor size.
- Thoroughly clean all dust and debris from the hole. This is a critical step for a secure hold.
Insertion & Setting
- Insert the drop-in anchor by hand with the threaded end facing up; it should sit flush with the concrete surface.
- Use the correct setting tool, striking it firmly with a hammer until the tool seats fully and the anchor expands securely.
- Verify the installation by ensuring the anchor is flush with the surface and does not spin or move when checked.
- Attach the fixture by threading the appropriate bolt or rod into the anchor and tightening it, being careful not to over-tighten.
Safety Considerations and Failure Prevention
Anchor Inspection and Load Testing
Routine inspection helps identify issues like corrosion, cracking, or loosening before they lead to failure. Technicians should look for visible signs of wear or movement in the anchoring position and confirm that the anchor remains firmly seated in the concrete.
Periodic load testing verifies that each anchor holds its rated capacity. A pull test applies a measured force to the anchor to confirm performance without causing damage. Testing frequency depends on usage, environment, and safety requirements.
In high-vibration or outdoor settings, anchors may degrade faster. Using stainless steel or galvanized materials prevents corrosion, especially in coastal or chemical environments. Documenting inspection results helps detect trends that signal early weakening or changes in concrete condition.
Avoiding Anchor Failure
Anchor failure often stems from improper drilling, overloading, or the wrong anchor size for the concrete strength. The installer should always use a rotary hammer drill with the correct bit to create a clean, precise hole.
A setting tool ensures the expansion plug engages completely, locking the anchor in place. Tightening bolts to the manufacturer’s recommended torque keeps loads distributed evenly. Avoid adding extra torque, as excessive force can crack the concrete around the anchor.
Environmental factors also influence reliability. Temperature extremes or moisture can cause expansion or rusting that weakens the bond. For long-term safety, periodic rechecking and replacement of older anchors are recommended in high-stress applications.
Edge Distance and Spacing Requirements
Placing anchors too close to the edge or to each other can cause cracking and loss of holding power. Most manufacturers recommend keeping a minimum edge distance of about five times the anchor diameter and a spacing distance of ten times the diameter between anchors. In tight spaces or near corners, smaller or chemical anchors may be safer alternatives.
| Parameter | Typical Recommendation | Purpose |
|---|---|---|
| Minimum edge distance | 5 × anchor diameter | Prevents cracking at edges |
| Minimum spacing | 10 × anchor diameter | Reduces stress overlap |
Conclusion
In summary, the drop-in anchor is a specialized and indispensable solution for creating strong, flush-mount attachment points in solid concrete. Its unique design addresses the need for installations that are both structurally sound and unobtrusive. By understanding the principles outlined in this article, professionals can leverage this versatile fastener to achieve secure, reliable, and lasting results across a wide spectrum of construction and industrial projects.
Frequently Asked Questions
Can a drop-in anchor be removed after it has been set?
If you aim to remove the expansion mechanism in a non-destructive way, the answer is no, because a correctly installed drop-in anchor is a permanent fixture. The expansion mechanism locks it irreversibly into the concrete. However, the bolt or threaded rod that screws into the anchor can be removed and reused, allowing for the easy change-out of attached fixtures.
How do I choose between zinc-plated and stainless steel for my project?
The choice is primarily driven by the environment. Zinc-plated carbon steel is for dry, indoor applications where corrosion is not a concern. Choose 304 or 316 stainless steel for any location with moisture, humidity, chemical exposure, or outdoor environments, with 316 offering superior resistance to salts and chemicals.