Self drilling screws are a versatile and efficient fastening solution that can save time and effort in various projects.
For beginners, using self-drilling screws may seem daunting at first, but with the right tools, techniques, and understanding of the screw’s features, anyone can master the art of using these fasteners.
This simple guide will walk you through the key aspects of self-drilling screws, including their components, design features, and the proper methods for installing them in different materials.
What is Self-Drilling Screw
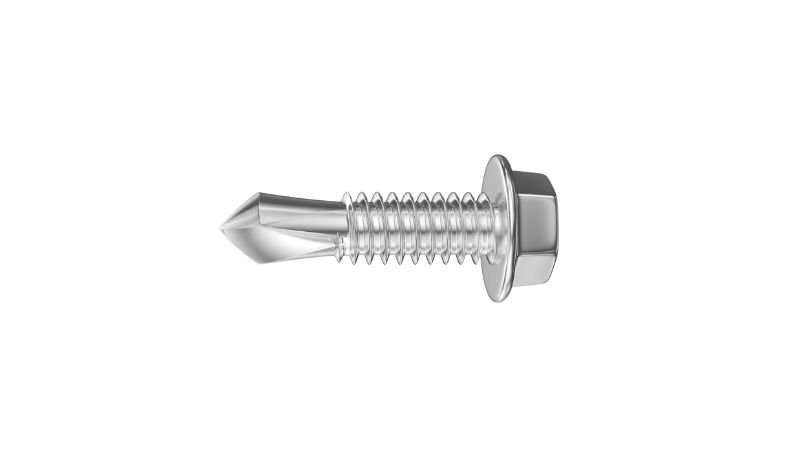
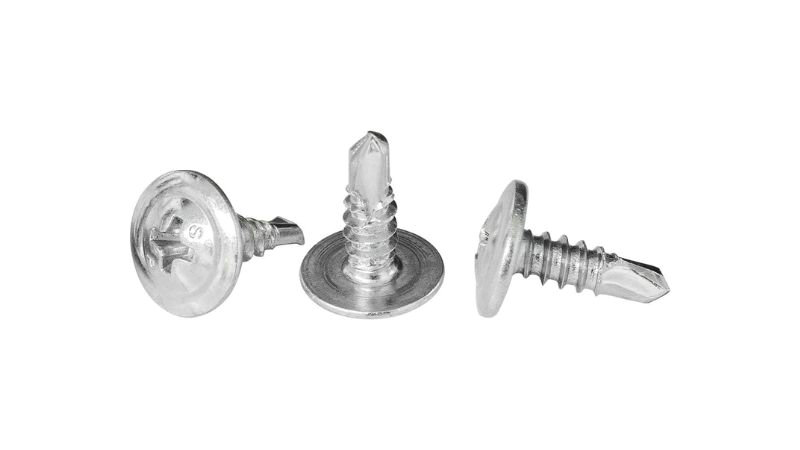
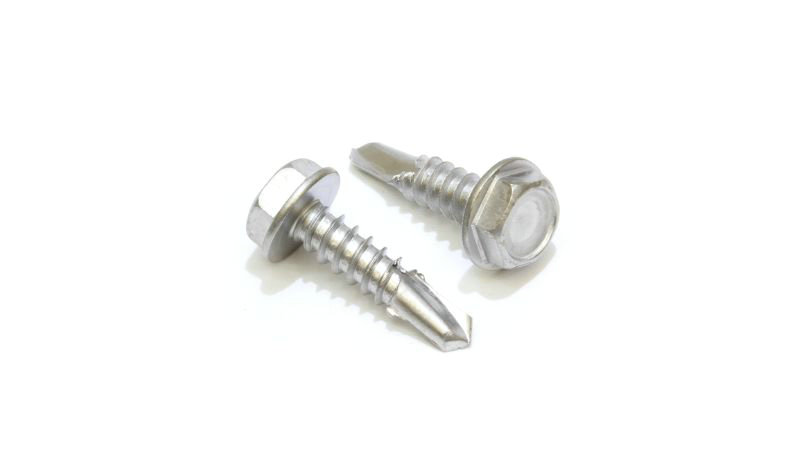
Self-drilling screws are designed to bore their own holes and fasten materials without a pilot hole, combining a drill bit and screw into various materials like metal, wood, or plastic.
- Self-Drilling Screws for Metal: fasten metal roofing, HVAC and ductwork, or connect steel frames.
- Self-Drilling Screws for Wood: repair sheds and outbuildings, or general construction tasks.
- Self-Drilling Screws for Plastic: fasten sheets or components together like plastic piping.
The Components of Self-drilling Screws

- Drill point: The sharp, drill bit-like tip of the screw that allows it to penetrate and drill through materials without a pre-drilled hole. The drill point is available in different lengths and styles to suit various material thicknesses and types.
- Threads: The helical structure that runs along the screw’s shank, enabling it to tap and form mating threads in the material as it is driven in. The thread design varies depending on the screw type and the material it is intended for.
- Shank: The body of the screw between the head and the drill point. The shank diameter and length vary based on the screw size and application requirements.
- Head: The top part of the screw that provides a surface for driving the screw and bears down on the fastened material. Self-drilling screws are available with various head styles, such as hexagon, pan, truss, and countersunk heads.
- Wings: Some types of self-drilling screws have wings that are designed to help drill thicker or more heavy-duty materials.
Different Types of Self-drilling Screws
The classification of self-drilling screws depends on the tapping style. There are four tapping styles: thread-forming, thread-cutting, and thread-rolling.
The key difference between these three screws is that thread-rolling screws create threads by deforming material, thread-cutting screws remove material to create threads, and thread-forming screws displace material to create threads.
Different Size of Self-drilling Screws
| Screw Diameter | Common Lengths | Hex Head Size | Drill Point Styles | Material Thickness Range |
|---|---|---|---|---|
| #6 (0.138″) | 3/8″ – 1″ | 1/4″ | – #2 – #3 | – #2: 0.035″ – 0.100″ – #3: 0.110″ – 0.210″ |
| #8 (0.164″) | 3/8″ – 1-1/2″ | 5/16″ | – #2 – #3 – #4 | – #2: 0.035″ – 0.100″ – #3: 0.110″ – 0.210″ – #4: 0.145″ – 0.312″ |
| #10 (0.190″) | 1/2″ – 2″ | 3/8″ | – #2 – #3 – #4 – #5 | – #2: 0.035″ – 0.100″ – #3: 0.110″ – 0.210″ – #4: 0.145″ – 0.312″ – #5: 0.250″ – 0.500″ |
| #12 (0.216″) | 1/2″ – 2″ | 7/16″ | – #2 – #3 – #4 – #5 | – #2: 0.035″ – 0.100″ – #3: 0.110″ – 0.210″ – #4: 0.145″ – 0.312″ – #5: 0.250″ – 0.500″ |
| 1/4″ (0.250″) | 1/2″ – 2-1/2″ | 7/16″ | – #3 – #4 – #5 | – #3: 0.110″ – 0.210″ – #4: 0.145″ – 0.312″ – #5: 0.250″ – 0.500″ |
| 5/16″ (0.3125″) | 1/2″ – 3″ | 1/2″ | – #4 – #5 | – #4: 0.145″ – 0.312″ – #5: 0.250″ – 0.500″ |
| 3/8″ (0.375″) | 1/2″ – 3″ | 9/16″ | – #4 – #5 | – #4: 0.145″ – 0.312″ – #5: 0.250″ – 0.500″ |
Common Materials Used to Make Self-drilling Screws
- Stainless steel
- Stainless steel is the most popular material for self-drilling screws due to its durability, strength, and corrosion resistance.
- The most common type of stainless steel used is 410 stainless steel, which is corrosion and rust-resistant.
- Heat-treated versions of stainless steel, up to 40 Rockwell C hardness, ensure that the drill point can pierce harder, more resilient metals.
- Stainless steel self-drilling screws are available in various finishes, such as clear passivated, plain, zinc-plated, and bright zinc-plated.
- Carbon steel
- Carbon steel is another common material used for manufacturing self-drilling screws.
- It is often case-hardened, where chemicals are added to the metal surface and heated at high temperatures to increase its hardness.
- Case hardening is performed as the last step in the manufacturing process, as it reduces the machinability of the screw.
3. Other materials
- While less common, self-drilling screws can also be made from other materials, such as aluminum and brass, depending on the specific application requirements.
In addition to the base materials, self-drilling screws can be coated with various finishes to enhance their properties, such as:
- Zinc coating for economical corrosion resistance
- Galvanization (heavy zinc coating) for improved corrosion resistance in outdoor applications
- Black oxide coating for a low-profile finish and mild corrosion resistance
- Epoxy coating for excellent corrosion resistance in harsh environments
How to Install the Self-drilling Screws

Preparation for Installation
Before installing self-drilling screws, it’s important to ensure you have the right tools and settings for a successful application. Your screw’s efficiency and the material’s integrity depend on these initial steps.
- Assessing Material Thickness
- Ensure the screw is long enough to fully penetrate and securely fasten all materials involved.
- Minimum Penetration: At least three threads should extend beyond the material.
Material Layering: Consider the total thickness of all layers to choose the correct screw length. Remember: For layered materials, clamp the pieces together to maintain a tight fit during installation and prevent misalignment of the holes.
- Select the appropriate self-drilling screw
- Choose a screw with the correct length, diameter, thread type, and drill point style for your specific application and the materials you’re working with.
- Ensure that the screw’s drill point is suitable for the thickness and type of material you’re drilling into.
- Common drill point styles include Type 17 (for wood and metal), Type 3 (for metal), and Type 5 (for plastic and soft metals).
- For softer materials like wood, use screws with coarse threads for better grip. For harder materials like metal, use screws with finer threads to prevent stripping.
- Choose the right tool
- Use a power drill or screw gun with an adjustable clutch and variable speed control.
- Select a driver bit that matches the screw head type and size.
- Determining the Correct Torque
- For ideal installation, adjust your drill’s torque to match the screw’s specifications and the material’s resistance.
- High Torque: Can strip threads or break the screw.
Low Torque: Insufficient penetration and poor fastening.
Note: When working with soft materials or thin metal sheets, start with a lower torque and gradually increase if necessary.
Drilling Technique
First, choose the right size driver bit for your screw. This ensures that the screw sits snugly without wobbling. Before you begin, firmly position the power drill or electric screwdriver with the selected driver bit or hex adapter attached.
- Pressure: Apply steady pressure, but avoid pushing too hard as it can cause the screw to go in at an angle or strip the material.
- Speed: Start slowly to ensure the screw begins straight, then pick up speed once it’s aligned.
- Alignment: Aim straight to maintain accuracy, ensuring the screw installs precisely where intended.
Tightening and Fastening
As you drive the screw into the material, the aim is to create a secure fastening without over-tightening.
- Installation and Tightening: Monitor the screw’s progress. Stop when the head sits flush with the surface, unless a countersink is required.
- Watch for snug fit: The screw should be tight enough that materials are held firmly together but not so tight that the screw head damages the surface or the threads strip.
- Final Check: Give a gentle tug to test the stability of the fastening. If it feels loose, slightly increase the torque and retighten.
Frequently Asked Questions
What are the main differences between self-drilling and self-tapping screws?
Self-drilling screws have a drill bit point that eliminates the need for pre-drilling. Self-tapping screws do not have this feature and require a pilot hole. Self-drilling screws can tap their own hole as they are driven into the material.
Is pre-drilling a necessary step when working with self-drilling screws?
Pre-drilling is not necessary when using self-drilling screws, as they are specifically designed to drill their own pilot holes. However, in harder materials, pre-drilling can sometimes help to preserve the screw’s integrity.
How do I choose the best self-drilling screws for heavy-gauge steel?
For heavy-gauge steel, opt for self-drilling screws with a point capable of piercing through thick materials. Choose a screw with a length that can penetrate and secure the material with the required strength.
What techniques are available for using self-tapping screws without a power drill?
You can use a manual screwdriver with adequate force to turn the screw. This requires more effort and is best for small jobs or when working with softer materials.
