Properly countersinking screws is an important part of many woodworking and DIY projects. It allows for a flush finish where the head of the screw sits below the surface, resulting in a smooth and seamless appearance. However, countersinking can be tricky to get right.
Whether you’re hanging a picture frame, assembling furniture, or installing trim work, countersinking screws is a useful technique to achieve a professional look. By following a few key steps and using the proper tools, you can countersink screws cleanly and consistently. This article will cover selecting the right drill bit or countersink, drilling at the correct angle, and getting screws recessed to the desired depth below the wood surface. Mastering countersinking takes some practice, but with the techniques outlined here, you’ll be able to countersink screws like a pro on your next project.
This simple guide will walk you through the basic steps and tools needed to countersink screws successfully.
Understanding Countersinking
Countersinking is an essential technique for a clean and professional finish when working with screws. It ensures the screw heads are flush or recessed below the material surface. Now, let’s get into what countersinking really is and its benefits.
What Is Countersinking?
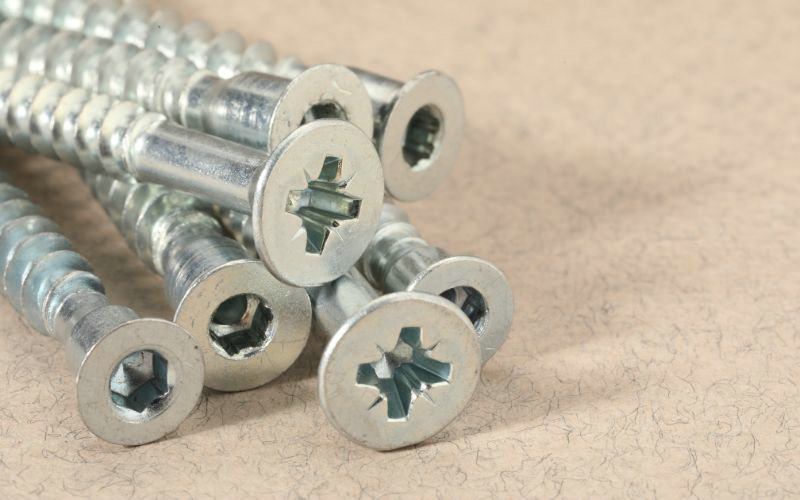
Countersinking is preparing a material for the insertion of a screw in such a way that the screw head sits flush with or below the surface of the material. You achieve this by creating a conical hole that matches the angle of the flat-head screw. Here are the types of countersink bits you might use:
- Fluted countersink cutter: used for general countersinking purposes.
- Cross-hole countersink cutter: often used in metalworking for small screws.
- Pilot countersink cutter: for starting the screw in the right location.
Benefits of Countersinking a Screw
The primary benefit of countersinking screws is the aesthetic and functional enhancement of your work:
- Aesthetics: When the screw head is flush with the surface, it provides a sleek and unobtrusive look.
- Safety: No protruding screw heads means a smoother, safer end product, minimizing snagging or scratching.
- Structural Integrity: Countersinking can improve the structural bond by allowing the screw to exert force evenly along its threads.
To perform countersinking properly, you’ll need the correct size and type of countersink bit. This bit should correspond to the size of the screws you’re using, and the resulting hole should be only as deep as the screw head height. Remember, the goal is for the screw head to either be level with or slightly below the work surface, ensuring your project looks great and is functionally sound.
Tools and Materials
When you’re planning to countersink screws, having the correct tools and materials is crucial for a flawless finish. Make sure you gather everything before you begin your project.
Selecting the Right Tools
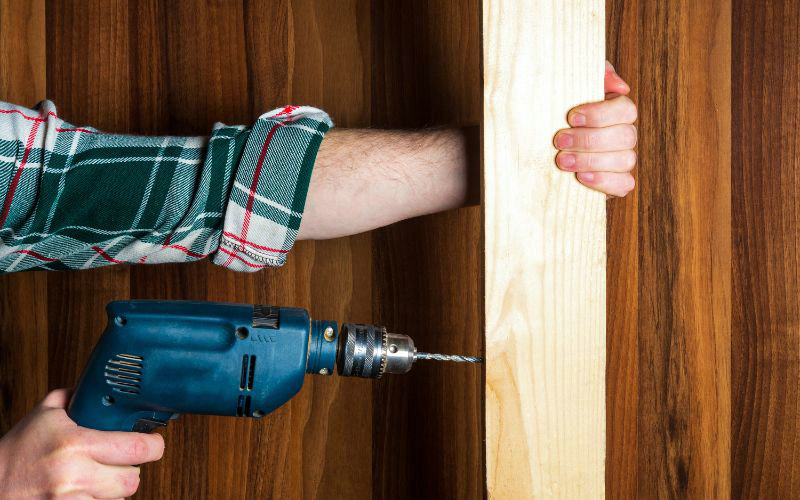
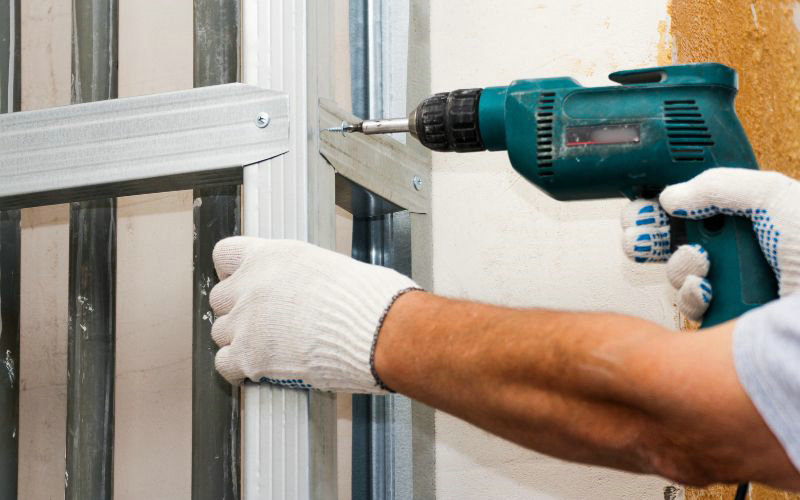
For a countersinking job, you’ll need a reliable drill. You may already have a power drill in your arsenal, which is perfect for this task. Alongside that, tape and a pencil are also handy to mark precise depths and positions where you’ll be drilling.
Types of Countersink Bits
Countersink bits come in various types, each suited for different screw heads and materials:
- Pre-drill countersink bit: This is a single bit that combines a drill bit for creating a pilot hole and a countersink bit for creating the countersunk recess. It allows drilling the pilot hole and countersink in one step. These often have an adjustable stop to control the countersink depth.
- Stand-alone countersink bit: This is just the countersink portion without an integrated drill bit. It is used after first drilling a pilot hole to create the countersunk recess. These can be used by hand or in a drill.
- Quick-change countersink drill bit and driver: This has a countersink bit at one end and a screw bit at the other end. You use the countersink end to drill the pilot and countersink holes. Then you flip it around to use the screw bit end to drive in the screw. This allows easy switching between drilling and driving.
In terms of use, you first select the appropriate size bit for your screws. Adjust the depth stop if available. Drill the pilot hole, then continue drilling to create the angled countersink to the desired depth. For a stand-alone bit, you predrill first then use the countersink. With quick-change bits, flip to drive the screws after countersinking. Countersinking allows flush or recessed screw heads for a smooth finish.
When selecting a countersink bit, match the size of the bit to the size of the screw. This ensures that your screw sits flush with the surface.
Choosing the Appropriate Materials
The material you are working with, whether it’s a wood surface or metal, dictates your choice of screws and bits:
- For Wood: Choose screws labeled for wood use and ensure your countersink bit is designed for wood to prevent splintering.
- For Metal: Opt for screws and bits that are specifically rated for metal work to handle the material’s hardness.
Remember to always check for any damage or corrosion, especially when working with metal, and prepare the surface accordingly for the best results.
Preparation Steps
Before you grab your drill, it’s essential to take the time to properly mark your workpiece and set your drill. This ensures accuracy and a clean finish when countersinking screws.
Marking the Spot
First, identify precisely where you want to insert your screw. Using a ruler or measuring tape, measure the spot meticulously and mark it clearly on the scrap piece of wood or material you’re working with. This is your pilot hole mark, and it’s critical as it dictates the placement of your screw. Ensure the mark is visible but not too large to avoid inaccuracies.
- Measure the exact spot with a ruler.
- Make a small, clear mark on the surface.
Setting Depth and Angle
For a perfect countersink, the size of your drill bit should be the same as the size of the screw shaft, excluding the threading. You’ll need to adjust the drill bit to match the height and angle of the screw heads so that they sit flush with or slightly below the surface once driven.
- Height (Depth): Fix the drill’s depth stop or use a specialized countersink bit with a depth stop to control how deep the pilot hole and countersink will go.
- Angle: Align the bit at the desired angle matching your screw’s conical angle. Most screws have an angle of 82 degrees, which is the standard for many countersink bits.
- Match the drill bit size to the screw’s shaft diameter.
- Set the drill bit to the correct depth using a depth stop.
- Align the drill bit at the same angle as the screw head, typically 82 degree. When fastening a thin material like plywood or metal to a thicker piece, it’s better to use a screw head with a wider 100 degree angle instead of the typical 82 degree. The broader head provides more surface area for grip and lessens the chance of the screw pulling through the thinner material.
Drilling Process

To fasten screws flush with the surface, the drilling process requires precision. You’ll need to drill a pilot hole before creating a chamfered area with a countersink bit for the head of the screw to rest.
Drilling the Pilot Hole
Before you countersink, it’s critical to drill a pilot hole. Use a drill bit that is slightly smaller than the diameter of the screw’s body (excluding the threads) to prepare the wood for the screw. This prevents the wood from splitting and ensures the screw threads grip effectively.
Steps for Drilling the Pilot Hole:
- Select the right drill bit size: Compare the bit to the screw without including the threads.
- Mark your spot: Use a pencil to indicate where you want the screw to enter the wood.
- Align drill bit: Carefully line up the drill bit with your mark.
- Apply light pressure: Start your drill, applying gentle pressure to create the pilot hole.
Countersinking the Hole
With the pilot hole drilled, switch to a countersink bit. If you’re working with hardwood or seek a clean finish, consider a pre-drill countersink bit or a quick-change countersink drill bit and driver.
Steps for Countersinking the Hole:
- Choose a compatible countersink bit: It should match the size of the screw head.
- Install the bit into the drill: Ensure it’s fastened securely before proceeding.
- Position the bit: Align it with the pilot hole you’ve drilled.
- Drill the chamfer: Activate the drill and press down with enough force to cut the countersink, which should be wide enough for the screw head to sit flush with the surface.
Achieving a Professional Finish

To ensure your woodworking projects come away with a professional finish, it’s crucial to not only secure the screw properly but also to refine the surface after installation. Here’s how to do just that.
Securing the Screw
When countersinking screws, achieving a snug and secure fit without causing damage to your material is essential. Follow these steps:
- Select the Correct Countersink Bit: For a flush finish, use a countersink bit that matches the screw head size.
- Drill the Pilot Hole: Using a bit slightly smaller than your screw diameter, drill a pilot hole to prevent wood split.
- Countersink the Hole: After your pilot hole, countersink to create space for the screw head.
- Drive the Screw: With gentle pressure, drive the screw until it sits flush with or slightly below the wood surface.
Refining the Surface
Once the screw is secured, focus on concealing and smoothing the area:
- Wood Filler: Apply wood filler over the screw for a smooth surface. Ensure it matches the wood’s color for a seamless appearance.
- Sanding: After the filler dries, sand the area lightly to flush the filler with the surrounding wood.
- Use Wood Plugs: For an alternative, insert a wood plug that matches your wood grain, securing it with glue and then trimming and sanding it down.
- Inspect the Final Product: Look over your work to check for any raised edges or inconsistencies.
- Painting or Staining: If your project requires painting or staining, do so after the filler or wood plug has been sanded and cleaned for a consistent finish.
Following these steps will not only secure your deck screws but also ensure the area is aesthetically pleasing, maintaining the integrity of your professional woodworking projects.
Common Mistakes and Solutions
When working with countersunk screws, a few common mishaps can occur. Here’s how to easily overcome them:
- Mistake: Using the Wrong Drill Bit Size
Solution: Always match your drill bit to the size of your screw. For a perfect fit, measure the diameter of the screw’s shaft and select a countersink drill bit that corresponds to that measurement.
2. Mistake: Cracking the Material
Solution: Prevent cracking by drilling a pilot hole first. This creates a guide for the screw and lessens the pressure as you drive it in.
3. Mistake: Damaging the Surface
Solution: Use steady pressure and a slow speed when setting the countersink bit to the wood. Rushing can lead to surface damage.
4. Mistake: Over-tightening
Solution: To avoid stripping the screw or damaging the material, tighten until the screw is flush with the surface—no further.
5. Mistake: Screw Loosening
Solution: Inspect the screw’s fit periodically. If loosening occurs, a little wood glue in the hole can keep your fastener secure.
Safety First:
Always wear safety goggles to protect your eyes from wood shavings and other debris.
Keep your fingers clear of the drill path to prevent pinch injuries.
Remember to read and follow the manufacturer’s instructions carefully for best results. If you do everything well your screw will sit flush with the wood surface.
Taking the time to countersink screws results in a much cleaner, more polished finished product. It ensures screw heads sit flush within the material being fastened instead of protruding above the surface. Following the techniques outlined in this guide, such as using the appropriate sized countersink bit and drilling at a 90 degree angle, will allow anyone to achieve professional-looking results. Countersinking screws is a fundamental woodworking technique that can elevate the appearance of any project. With practice, it becomes second nature to countersink for a seamless finish every time fasteners are used.
